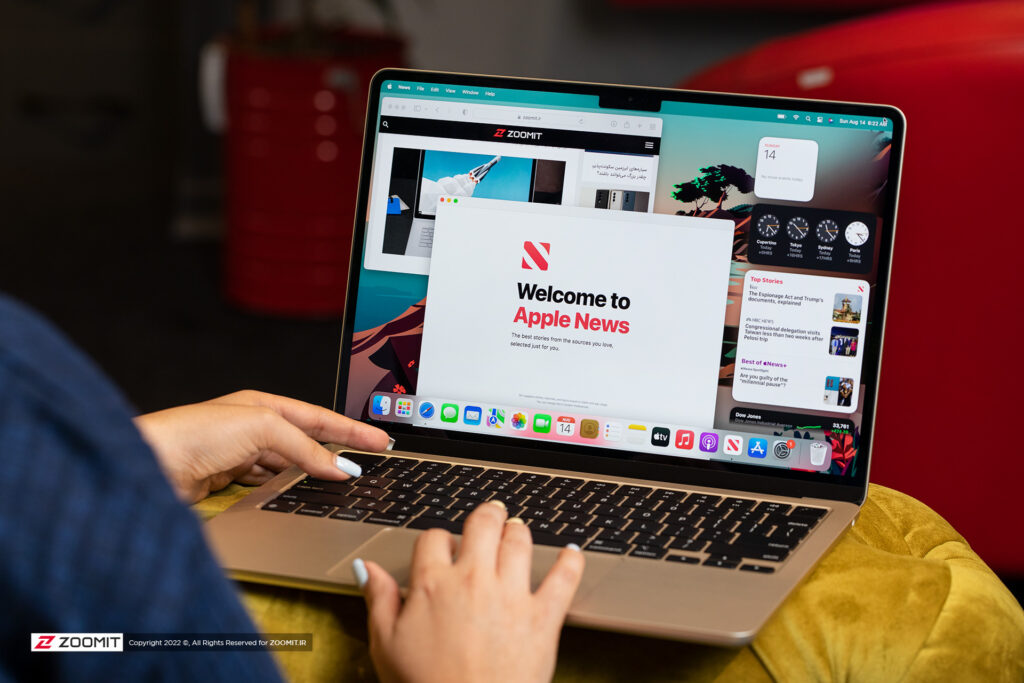
Taking screenshots in different operating systems is one of the functions that almost all users will need one day. Sometimes taking a screenshot is different in one operating system but in different devices manufactured by different companies. For example, taking a screenshot on a Samsung phone is different from taking a screenshot on a Xiaomi phone, even though both have Android operating systems.
If you have just entered the Apple ecosystem and are using the MacOS operating system, you may be wondering how you can take screenshots with Mac keyboard shortcuts on the Apple MacBook or iMac All-One models. In this article, we are going to review 4 simple ways to take screenshots on Mac. Stay with Zoomit as always.
Taking a screenshot in macOS
It doesn’t matter which model of Apple Mac systems you have, there are generally 3 basic methods to take screenshots in these systems. But, Macbook Pro users can have another additional method to take a screenshot by using the touch bar. In addition, it is possible to save, delete and open the screenshot easily in Mac OS.
First method: Cmd + Shift + 3
To record a full-screen screenshot, you can press the combination keys Command plus Shift and 3 on the keyboard at the same time to record and save an image of everything you see on the screen. This image is usually saved on your Mac desktop and you can easily access it.
Second method: Cmd + Shift + 4
With the help of the combination keys Cmd + Shift + 4, you can activate the mouse cursor in such a way that you can select any part of the screen and release the mouse to take a screenshot of that area.


![The competition of Xbox and PlayStation was extended to the spherical structure of Las Vegas! [تماشا کنید]](https://pcjow.com/wp-content/uploads/2023/10/sphere-xbox-ads-6533c23e5641fa531bdc2eeb-150x150.jpeg)