What is WSL? Explained in Detail
What is Windows Subsystem for Linux (WSL)?
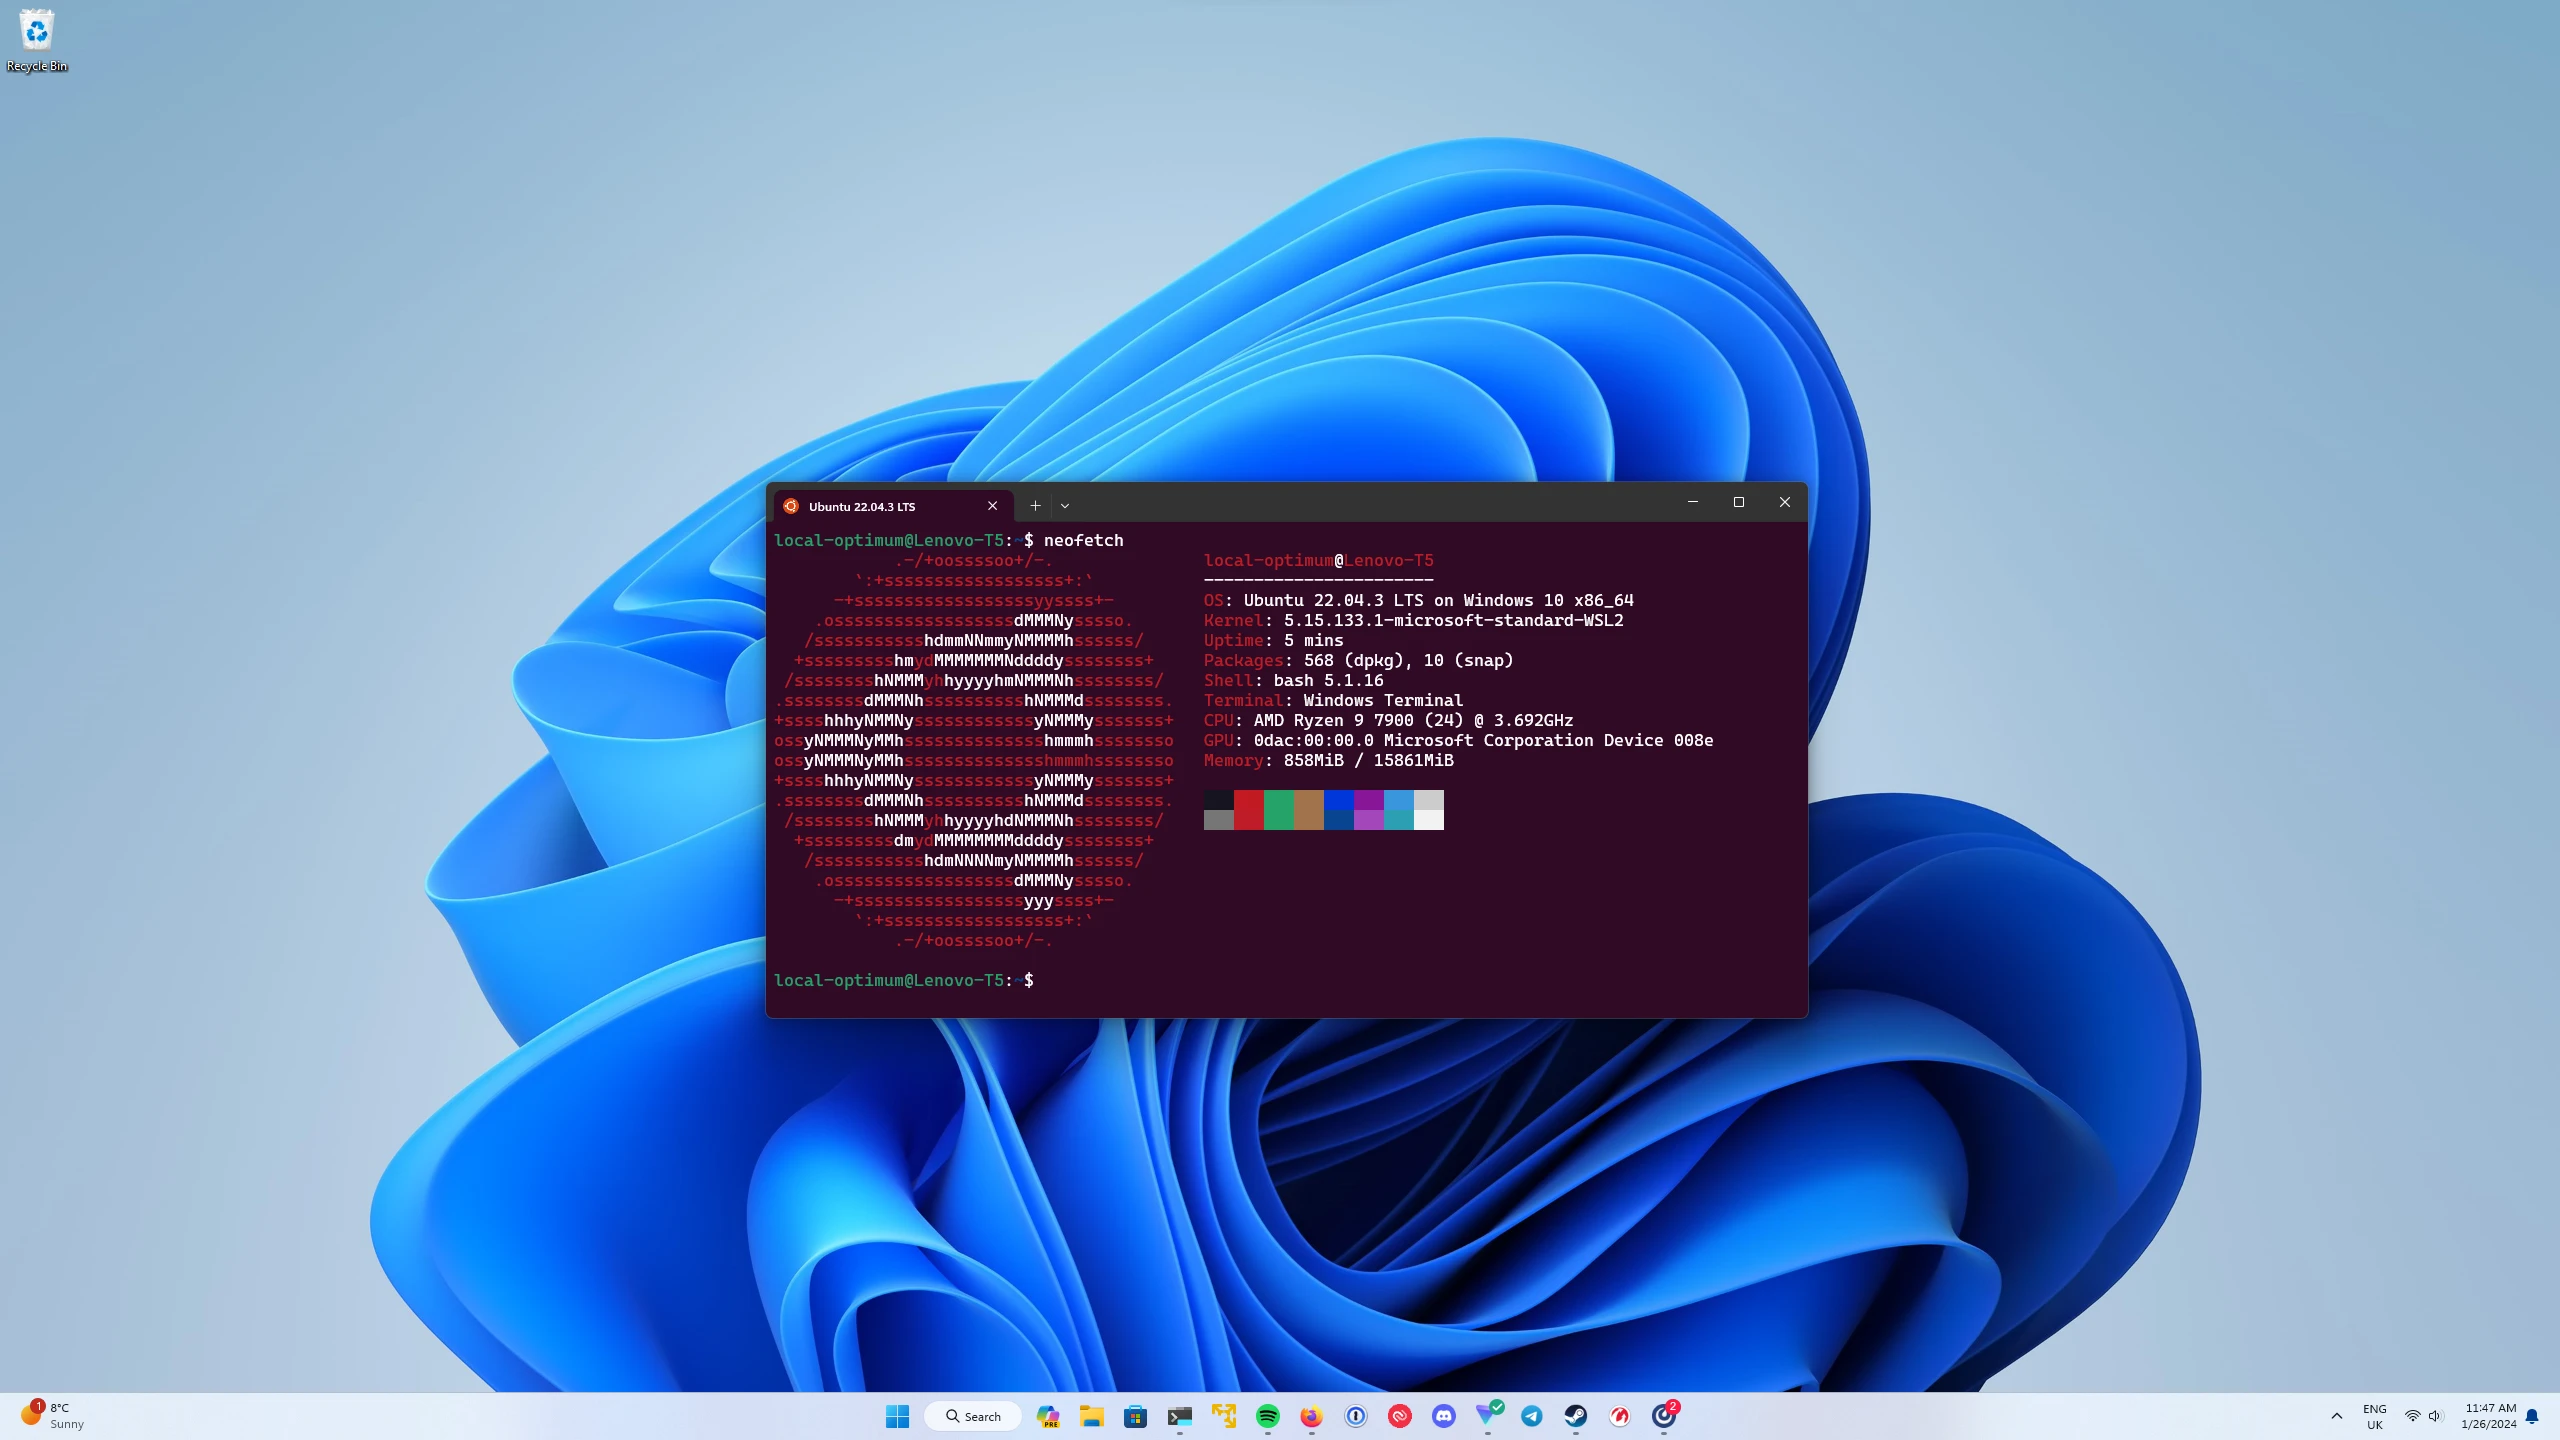
Windows Subsystem for Linux (WSL) is a feature of Windows 10 and later versions that enables you to run a full Linux environment on your Windows machine. WSL allows you to use Linux command-line tools, applications, and utilities alongside your regular Windows apps, making it an excellent solution for developers, system administrators, or any user who needs access to Linux-specific tools but doesn’t want to leave the Windows ecosystem.
WSL is not a traditional virtual machine or dual-boot setup. Instead, it allows Linux to run natively on Windows, making it lighter and faster. It’s essentially a compatibility layer that lets you run Linux distributions (such as Ubuntu, Debian, or Fedora) on top of Windows with seamless integration.

Why Use WSL?
There are several compelling reasons why Windows users would want to use WSL:
1. Run Linux Tools and Applications
WSL allows you to access a wide range of Linux command-line tools, libraries, and applications directly on Windows. This means you can use popular Linux tools like grep, sed, awk, curl, git, and package managers like apt or yum for your development and system administration tasks.
2. Development Flexibility
Many development environments, especially for web development, cloud services, and DevOps, are based on Linux. WSL allows you to run Linux-based development tools and environments (such as Node.js, Python, Ruby, and more) while staying within your familiar Windows setup. This eliminates the need for a dual-boot setup or a separate Linux machine, which can be time-consuming and inefficient.
3. Run Linux Software on Windows
With WSL, you can use native Linux applications that you may need for your work. Whether you need access to Linux-only software like Docker or Kubernetes, or you prefer Linux-based editors such as Vim or Emacs, WSL gives you easy access to these tools.
4. Compatibility with Windows Files
WSL can seamlessly access your Windows file system. For instance, you can work on a project in the Linux environment and save your files directly to your Windows file system or vice versa, all from the same terminal.
5. Faster and More Efficient
Unlike traditional virtual machines, WSL doesn’t require a lot of overhead. It doesn’t run a full-fledged virtual machine, and you can run Linux and Windows applications side-by-side without sacrificing performance.
6. Seamless Integration with Windows
Since WSL integrates so well with Windows, you can launch Linux applications, use Linux-based tools, and run scripts, all while maintaining your usual Windows environment. For example, you can call Windows applications directly from a Linux terminal.
How WSL Works?
WSL uses a compatibility layer, but it has evolved over time to become more powerful and efficient. Here’s a breakdown of how WSL works:
WSL 1 – The Original Compatibility Layer
When WSL was first introduced, it was essentially a translation layer. It allowed Linux binaries to run on Windows by translating system calls from Linux to their Windows equivalents. While this was revolutionary at the time, it had limitations, particularly when it came to performance and compatibility with Linux applications that require specific kernel features.
WSL 2 – The Full Linux Kernel
With the release of WSL 2, Microsoft made a significant improvement by integrating a full Linux kernel into Windows. WSL 2 is based on a real Linux kernel running inside a lightweight virtual machine, giving users a more complete Linux experience. This upgrade improved performance, compatibility, and support for Docker, which wasn’t fully supported on WSL 1.
Key improvements of WSL 2 include:
- Full Linux Kernel: WSL 2 uses an actual Linux kernel, which provides better compatibility with Linux apps.
- Better File System Performance: WSL 2 has improved file system performance, particularly when working with Linux files, which is a significant upgrade over WSL 1.
- Support for Docker: Docker Desktop is now supported natively in WSL 2, allowing users to run and manage containers on Windows as if they were running them on a native Linux machine.
How to Set Up WSL
Setting up WSL is relatively simple, especially with the improvements in Windows 10 and 11. Here’s a step-by-step guide to get started with WSL:
Step 1: Enable WSL
- Open PowerShell as Administrator.
- Run the following command to enable WSL:cssCopy
wsl --install
If you’re on an older version of Windows, you may need to enable some features manually using the following command:
dism.exe /online /enable-feature /featurename:Microsoft-Windows-Subsystem-Linux /all /norestart
- Restart your computer to apply the changes.
Step 2: Install a Linux Distribution
After enabling WSL, you can install your desired Linux distribution. Microsoft offers several popular distributions, such as Ubuntu, Debian, Fedora, and others, through the Microsoft Store.
- Go to the Microsoft Store and search for your preferred distribution (e.g., Ubuntu).
- Click Install to download and install the distribution.
Step 3: Set Up the Linux Distribution
- After installation, launch the Linux distribution from the Start menu.
- On the first run, you’ll be prompted to set up your user account and password for the Linux environment.
Step 4: Install WSL 2 (if not already installed)
If your system is using WSL 1 and you want to upgrade to WSL 2, follow these steps:
Run this command in PowerShell as Administrator to set WSL 2 as your default version:
wsl --set-default-version 2
If you already have a distribution installed (e.g., Ubuntu), you can convert it to WSL 2 with:
wsl --set-version <distro-name> 2
Using WSL: Common Tasks
Once you’ve set up WSL, you can start using Linux tools and commands directly from the terminal. Here are some useful tasks you can do in WSL:
Accessing the Linux File System
WSL allows you to interact with the Linux file system from both the Linux terminal and Windows File Explorer.
- Linux Files: You can access your Linux files from Windows by navigating to:rubyCopy
\\wsl$\Ubuntu(whereUbuntuis the name of your installed Linux distro). - Windows Files: From the Linux terminal, you can access your Windows file system at
/mnt/c/
Installing Software in WSL
To install software in WSL, use your distribution’s package manager. For example, in Ubuntu, you can use apt:
sudo apt update
sudo apt install <package-name>
Running GUI Apps (WSLg)
With WSL 2 and the new WSLg (Windows Subsystem for Linux GUI), you can run Linux GUI applications on Windows. Simply install a GUI app via your package manager, and it will run directly on your Windows desktop.
WSL vs. Traditional Virtual Machines
While WSL offers a more lightweight solution compared to traditional virtual machines, it’s important to note the differences:
Compatibility: Virtual machines can run full Linux distributions with full graphical interfaces, but WSL (especially WSL 2) provides a balance between Linux’s power and Windows’ flexibility.
Performance: WSL doesn’t have the overhead of running a full virtual machine, making it faster and more efficient for many tasks.
Integration: WSL is integrated into Windows, allowing for seamless access to both Windows and Linux environments from the same terminal or file system.
Conclusion
Windows Subsystem for Linux (WSL) has become an essential tool for many developers and advanced users who want to use Linux on Windows. Whether you’re working on cross-platform development, learning Linux, or running Linux-only tools and applications, WSL provides a seamless and powerful solution. With the release of WSL 2 and improvements like GUI support (WSLg), running Linux on Windows has never been easier or more efficient.
Whether you’re a beginner just getting started with Linux or an experienced developer, WSL opens up a world of possibilities by bringing the power of Linux directly to your Windows machine.