You can organize multiple albums in folders. For example, if you take photos of various work-related projects, you might want to create a work folder to house all work-related albums. For this purpose, you must follow the following steps:
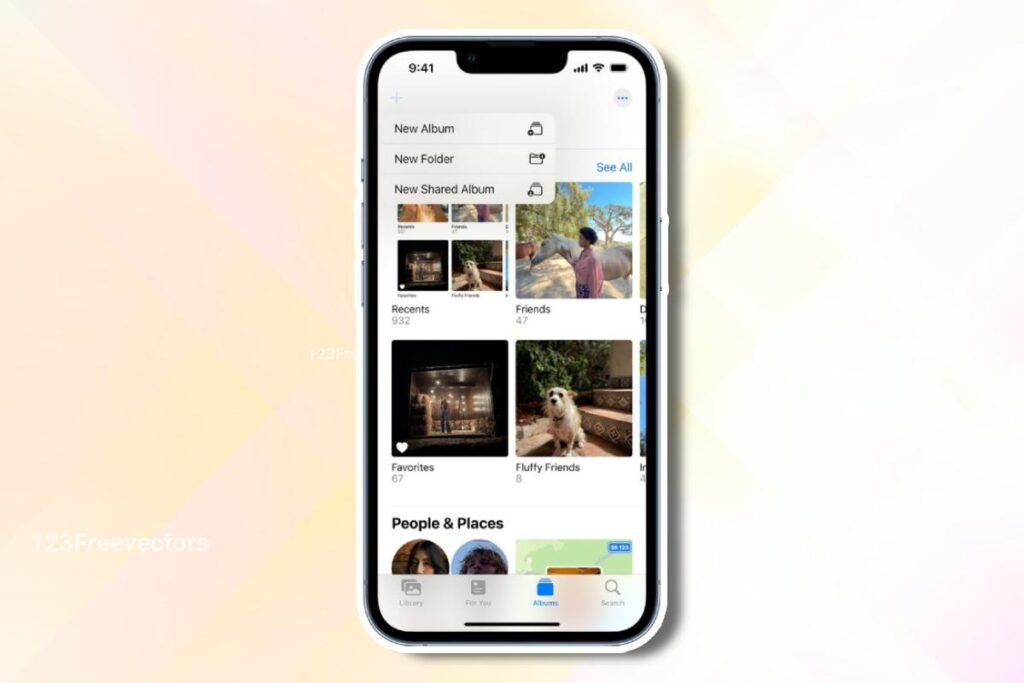
- Go to the Albums section of the Photos app, then tap the “+” sign in the upper left corner of the screen.
- Tap New Folder.
- Type the folder name and tap Save.
- Once you’re in your new folder, tap Edit in the top-right corner of the screen.
- Next, select the “+” sign at the top left of the screen.
- In this section, you can select New Album and put images in it or create a new subfolder for the album by tapping on New Folder.
If you have photos on your iPhone that have not been added to the desired album, follow the steps below:
- Go to the Albums section and then tap on Recents.
- Tap Select in the upper right corner of the screen.
- Select the images you want to add to the album.
- Tap the ellipsis in the bottom right corner of the screen.
- Select Add to Album. Now select the album where you want the images to be added.
Better organization of photos on iPhone
By using the tips presented in this article, you can easily organize and manage a large number of iPhone gallery images.
As MUO points outLike Google Photos, the Photos app on iOS is a powerful tool that helps make managing and accessing photos easier. Google Photos is available on Google phones, Samsung phones, Xiaomi phones, and other Android devices.